

A Workspace Above
A perfectly designed workspace fit for anyone who needs a perfect space
The why of the project
It all begins with an idea. I need a new, and improved desk. My current desk just is not cutting it. It’s okay, but it could be better. So I set out to make the best space possible. It will be custom made, and a work of art.

Bryan Schantz
My name is Bryan Schantz. I wish to study Web Design & Development. I always told myself that if I didn’t go to college, I would have loved to study wood working. I have a love for fabrication, such as 3D printing. I hope to one day teach web design & development one day at a county college.

Step 1: Dry Fitting
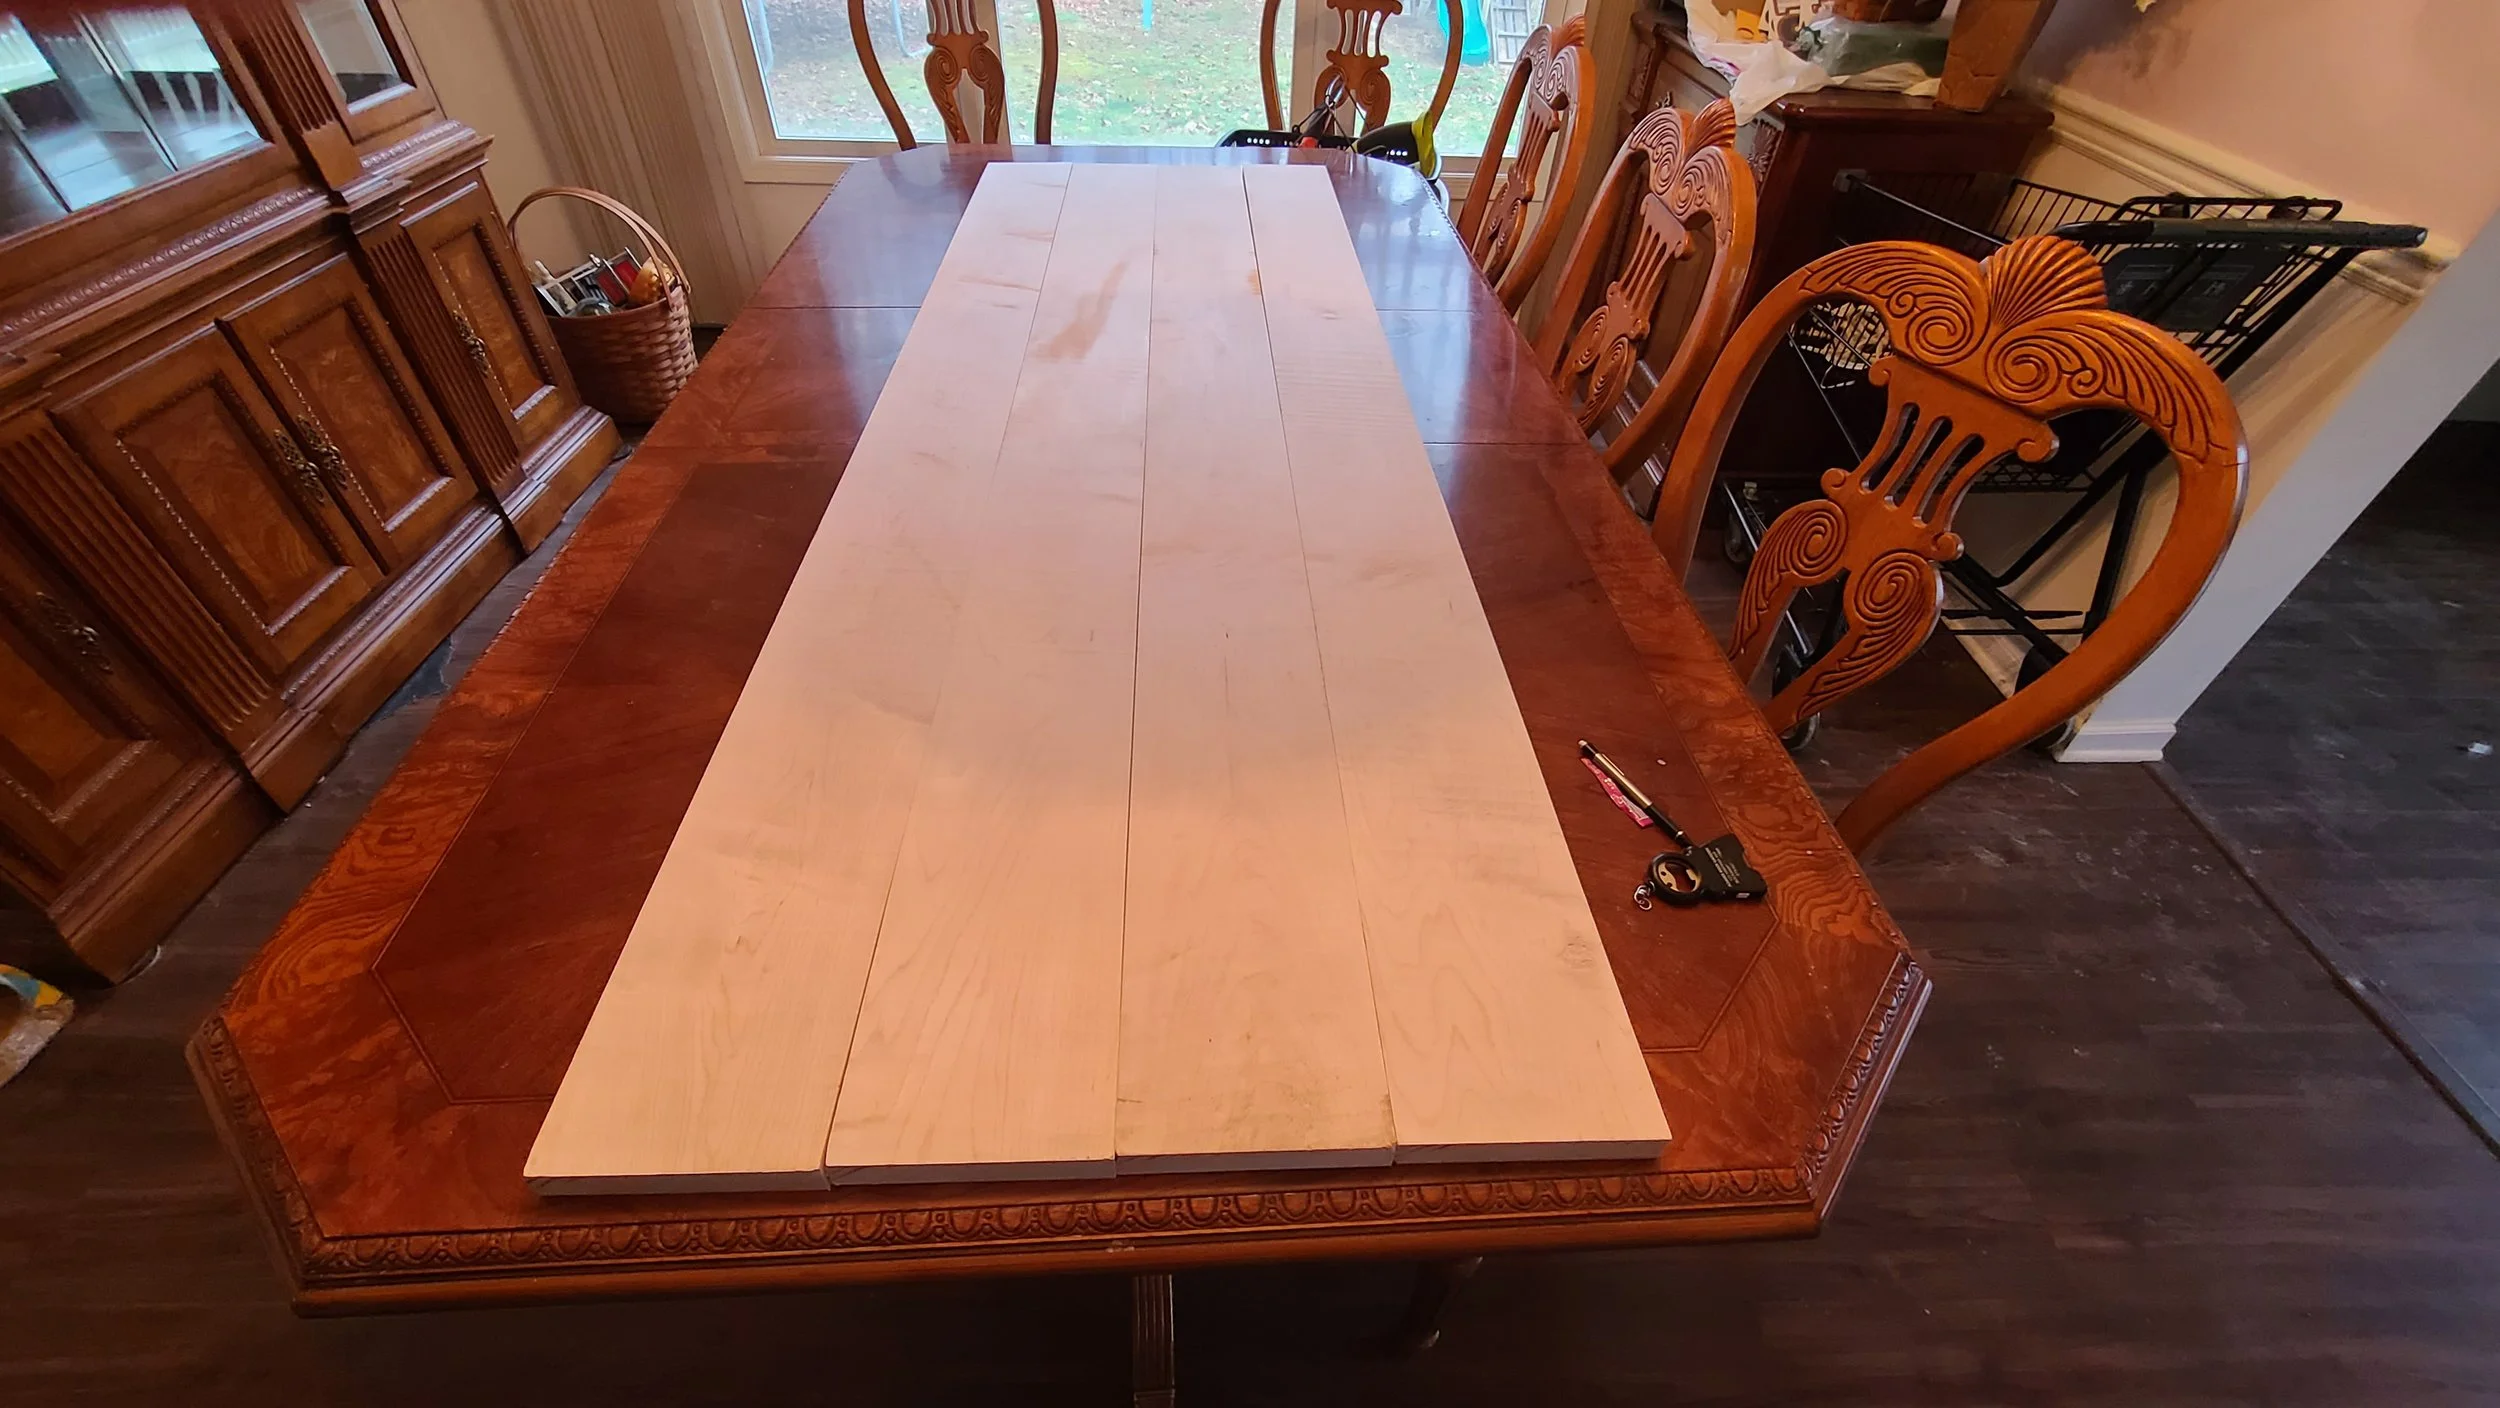
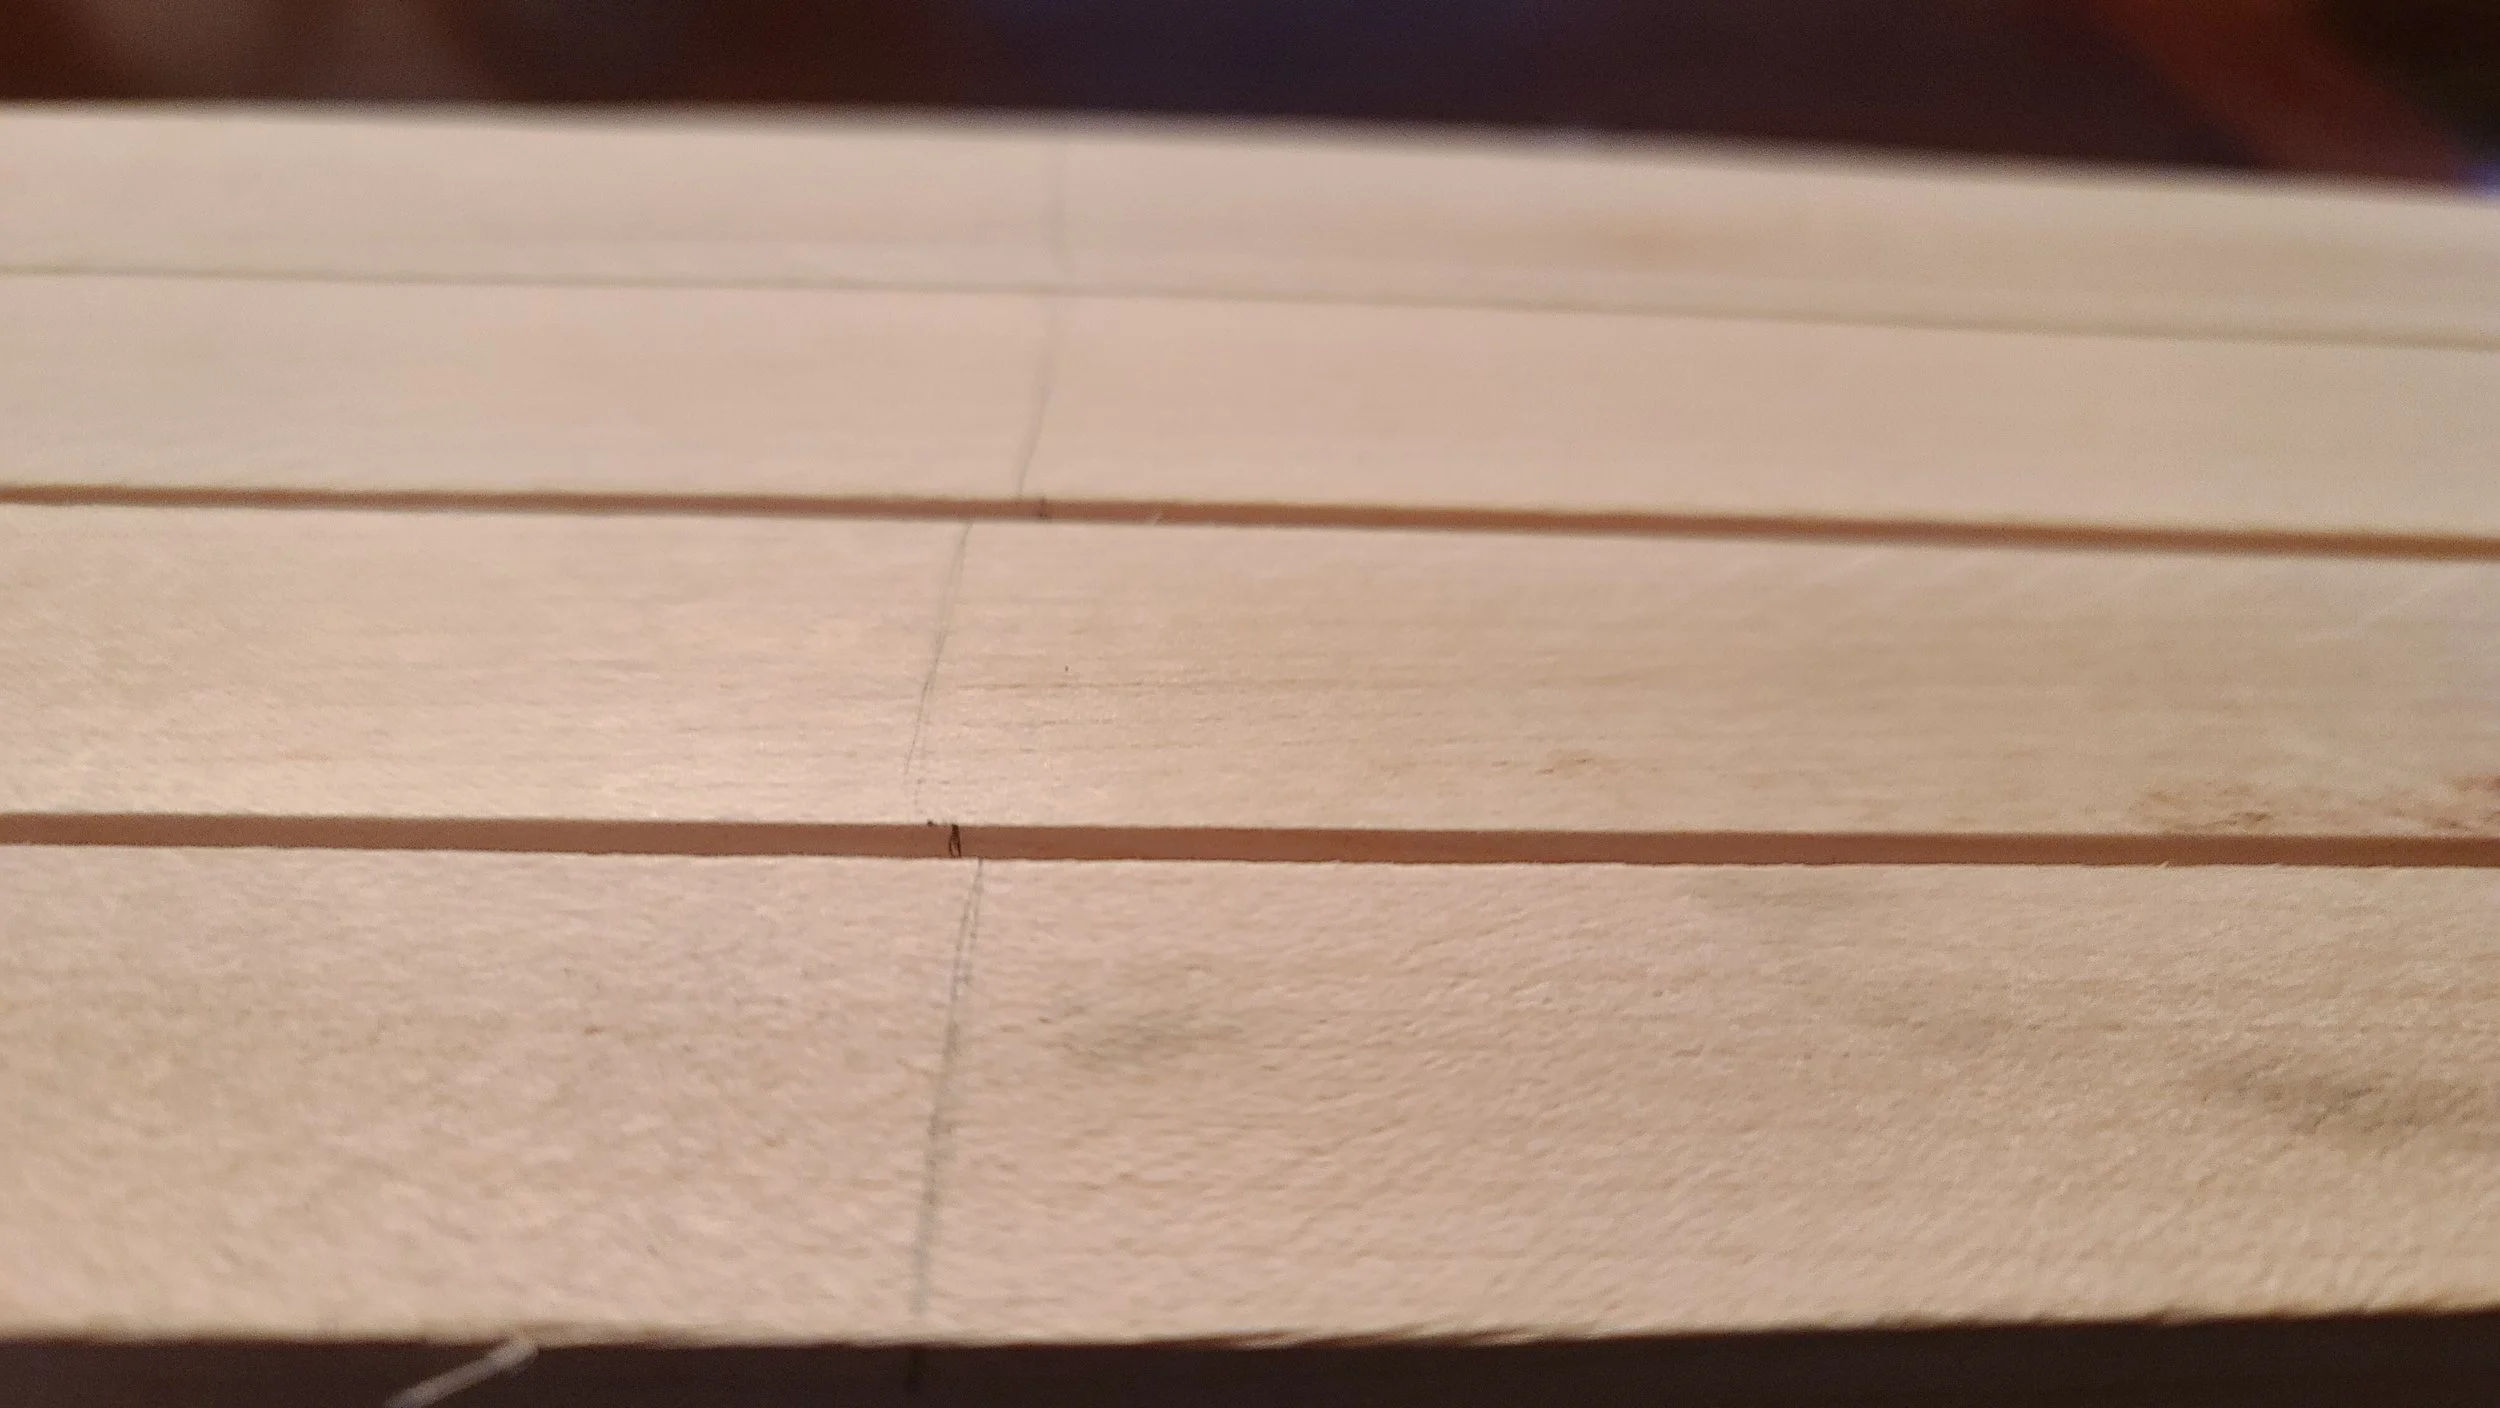
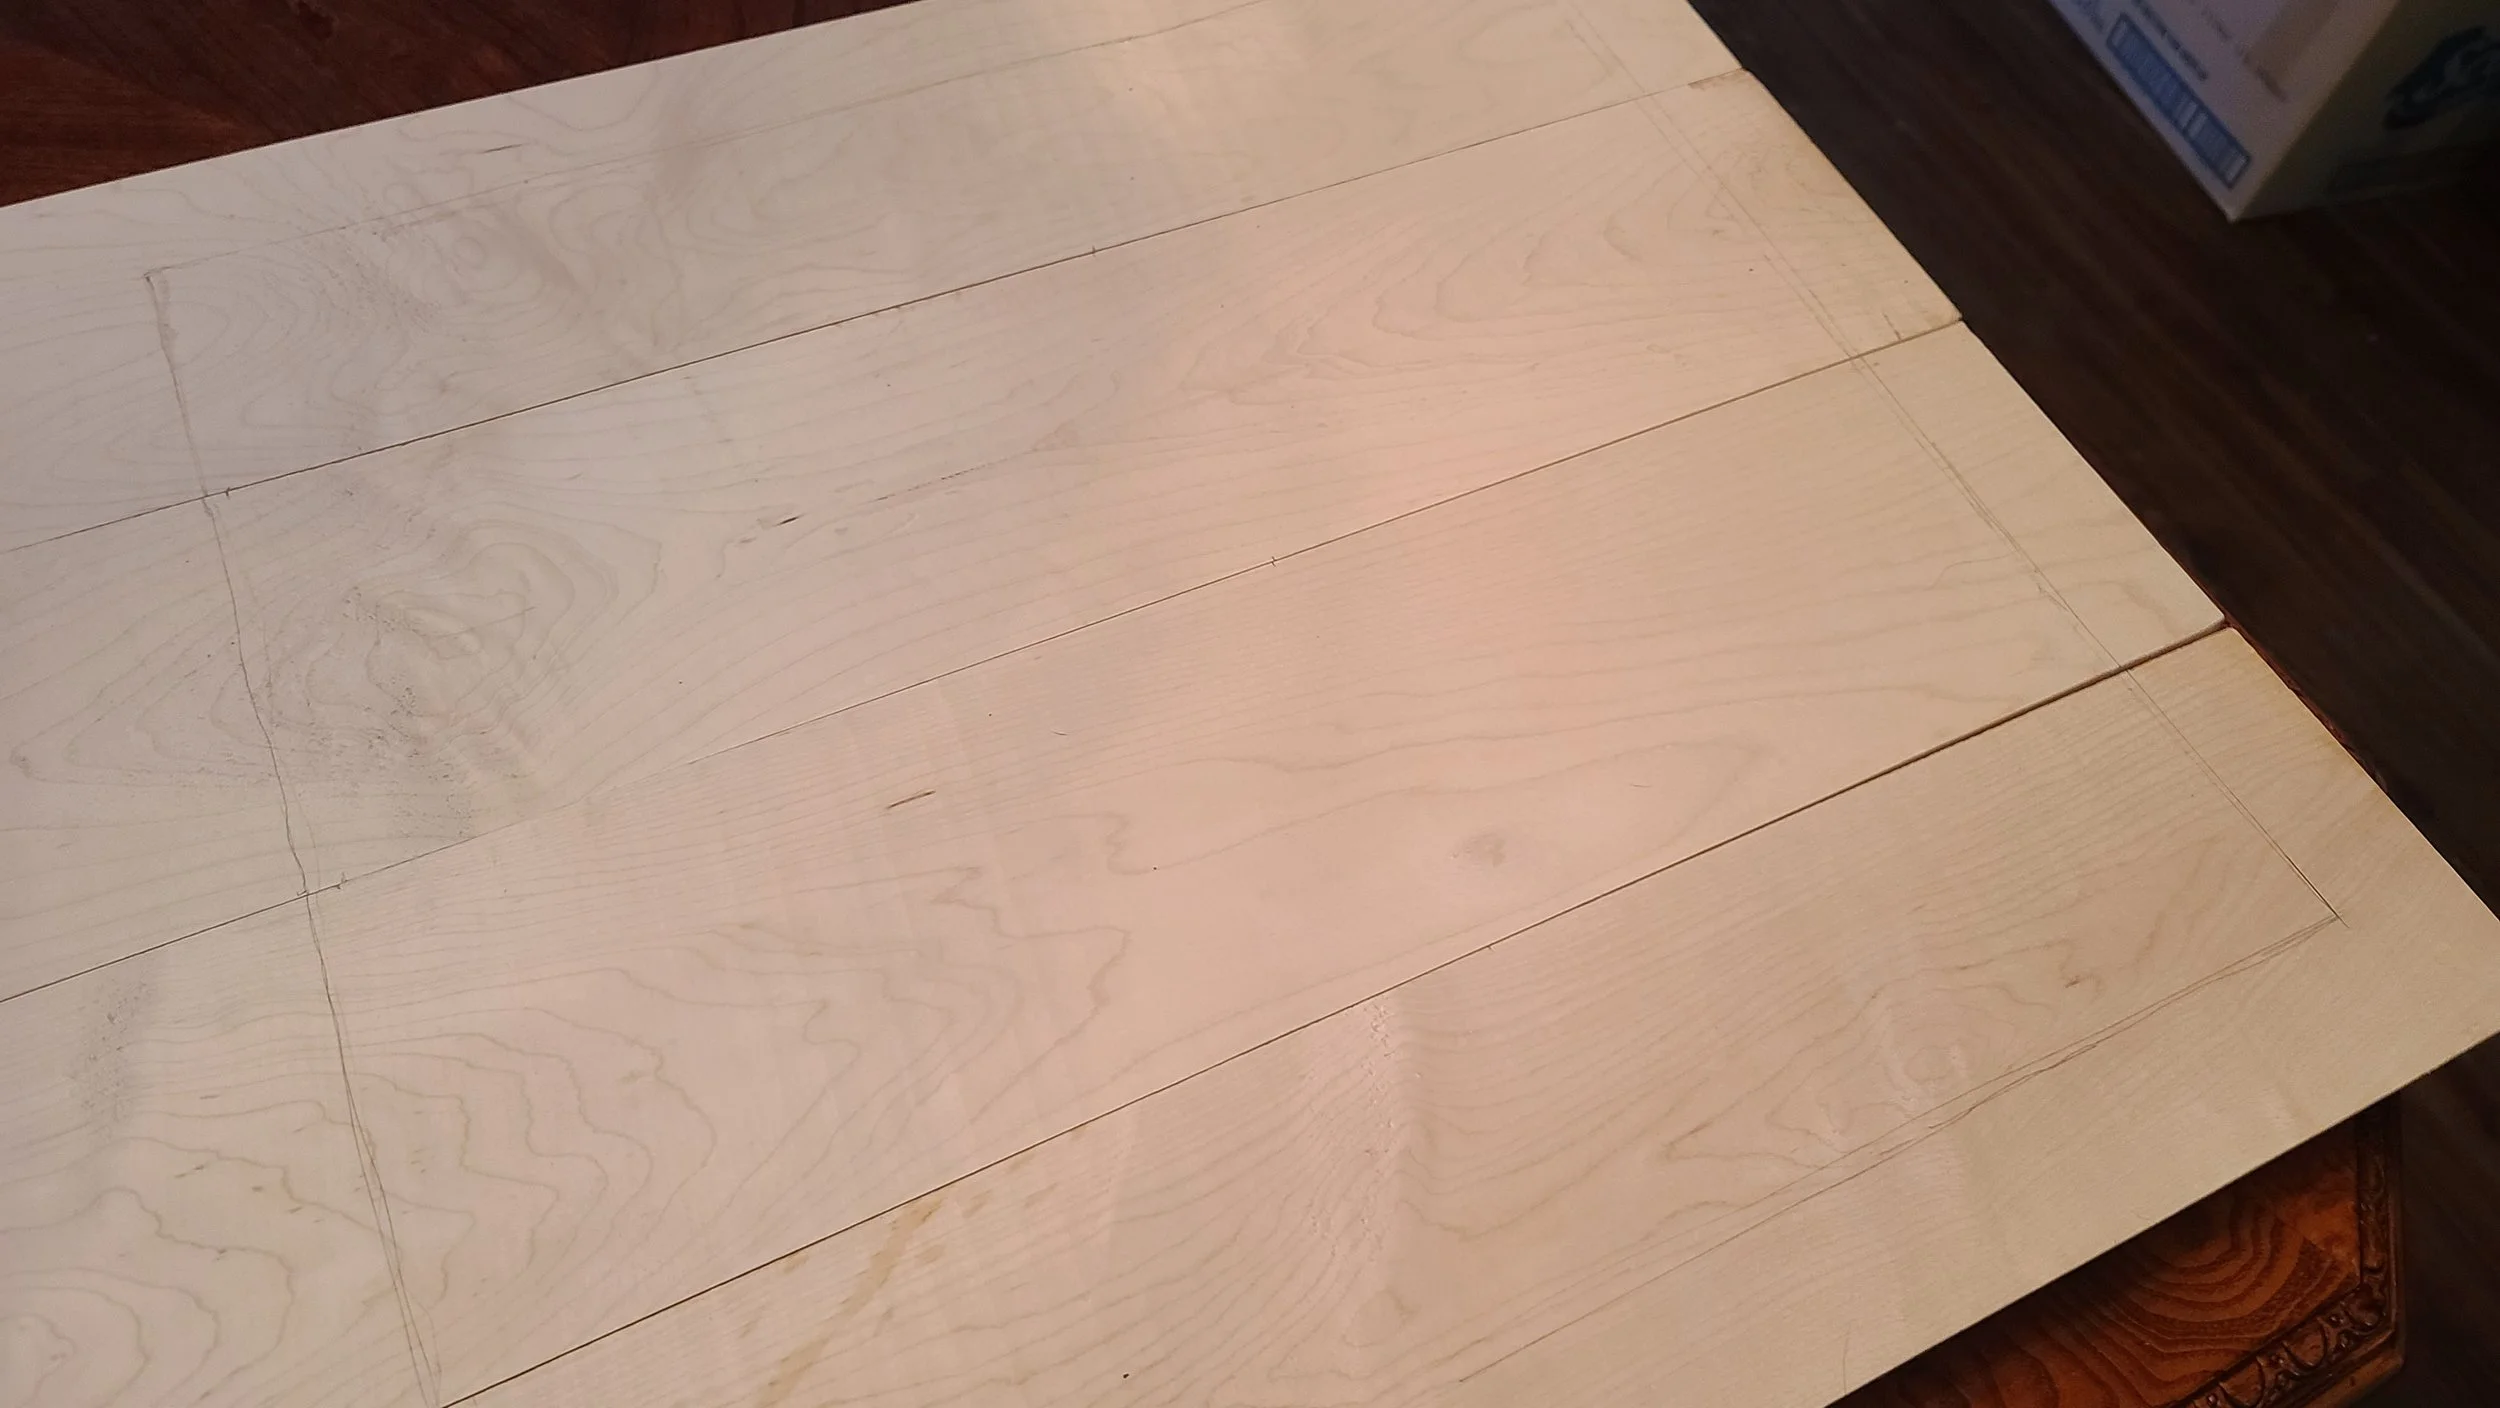
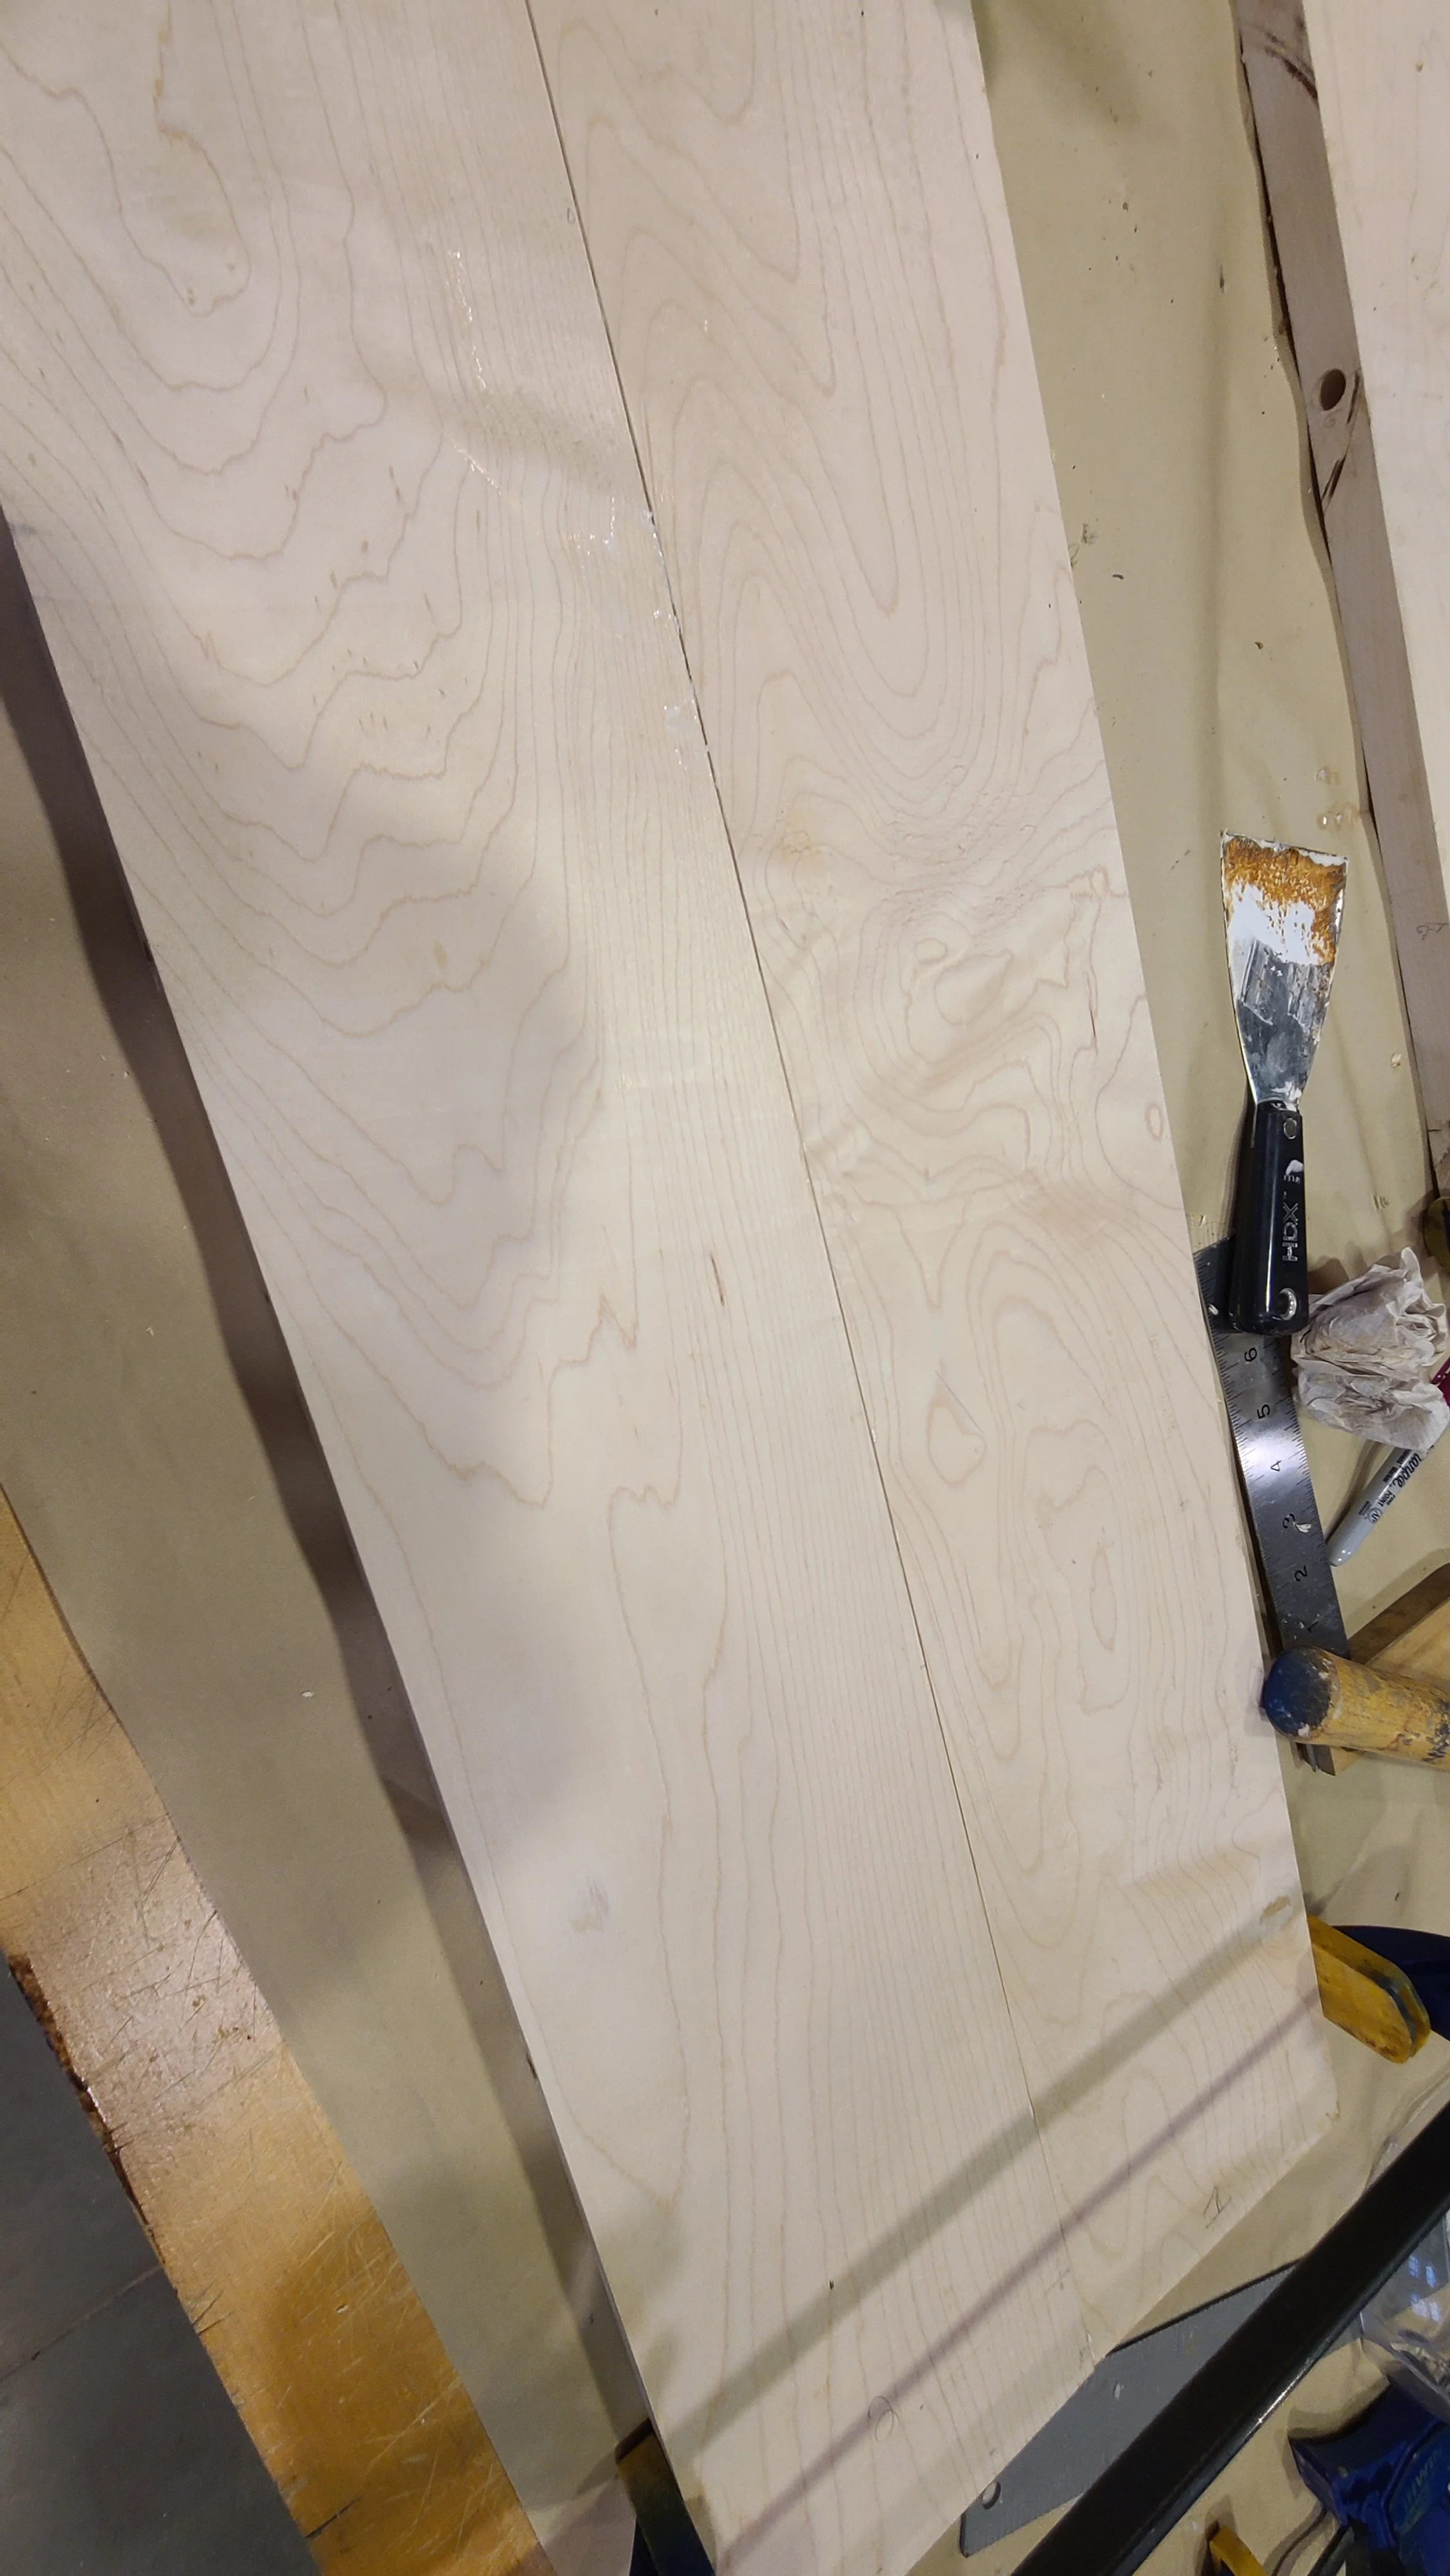
When I ordered all the wood I knew I would need to dry fit the part. Dry fitting is when you put all the pieces together without any glue, screws, dowels, and the likes. You just put them together. I took over my dining room table and laid out everything. When i did i made some marks where I knew i would need to do things, Holes, and cut-outs alike. I checked for imperfections in the wood to make sure it will look its best.


Step 2: Building The Top
The top of the desk is as it sounds….the top. This is where i will be doing all my work, all my writing, and so on and so fourth. I decided to make it six feet by two feet. This amount of space is optimal for what I want it to be.
Getting all the wood from my house to the AIMM building was what I had to do. After talking to Prof. Ault I was allowed to store the parts in the AIMM ULab. I hauled my stuff from the ULab to the AIMM woodshop. I double checked all my measurements I made while I was at home, and got to work. I drilled my pilot holes for my dowels, added the glue. I clamped everything up, and let it sit for an entire weekend.
Step 3: Building The Bottom
The bottom sits under the desk, and holds a computer for my work. The process of building the bottom was similar to the top, except smaller. I connect 8 bits of 4 x 36 bits of maple wood in the same manor as the top, glued and doweled together


Step 4: The Cuts , & Fabrication
After I built the top and bottom pieces I knew i would need some holes for a variety of things. First off were 3 holes for fans to keep my computer cool. I found some 3D printable file by Mcnay Design, and printed 3 of them, and cut holes to be that size. Next were some circular holes for running wires. I made sure everything was good, and moved on
Step 5: The Computer
I needed to put my computer inside. I drilled some holes in my MDF board for ALL the parts. motherboard, power, and HDD bracket. I screwed everything into the stand-offs and it is ready to work